Mastering Techniques: Moncohrome Portrait in Oils Part 2
Introduction
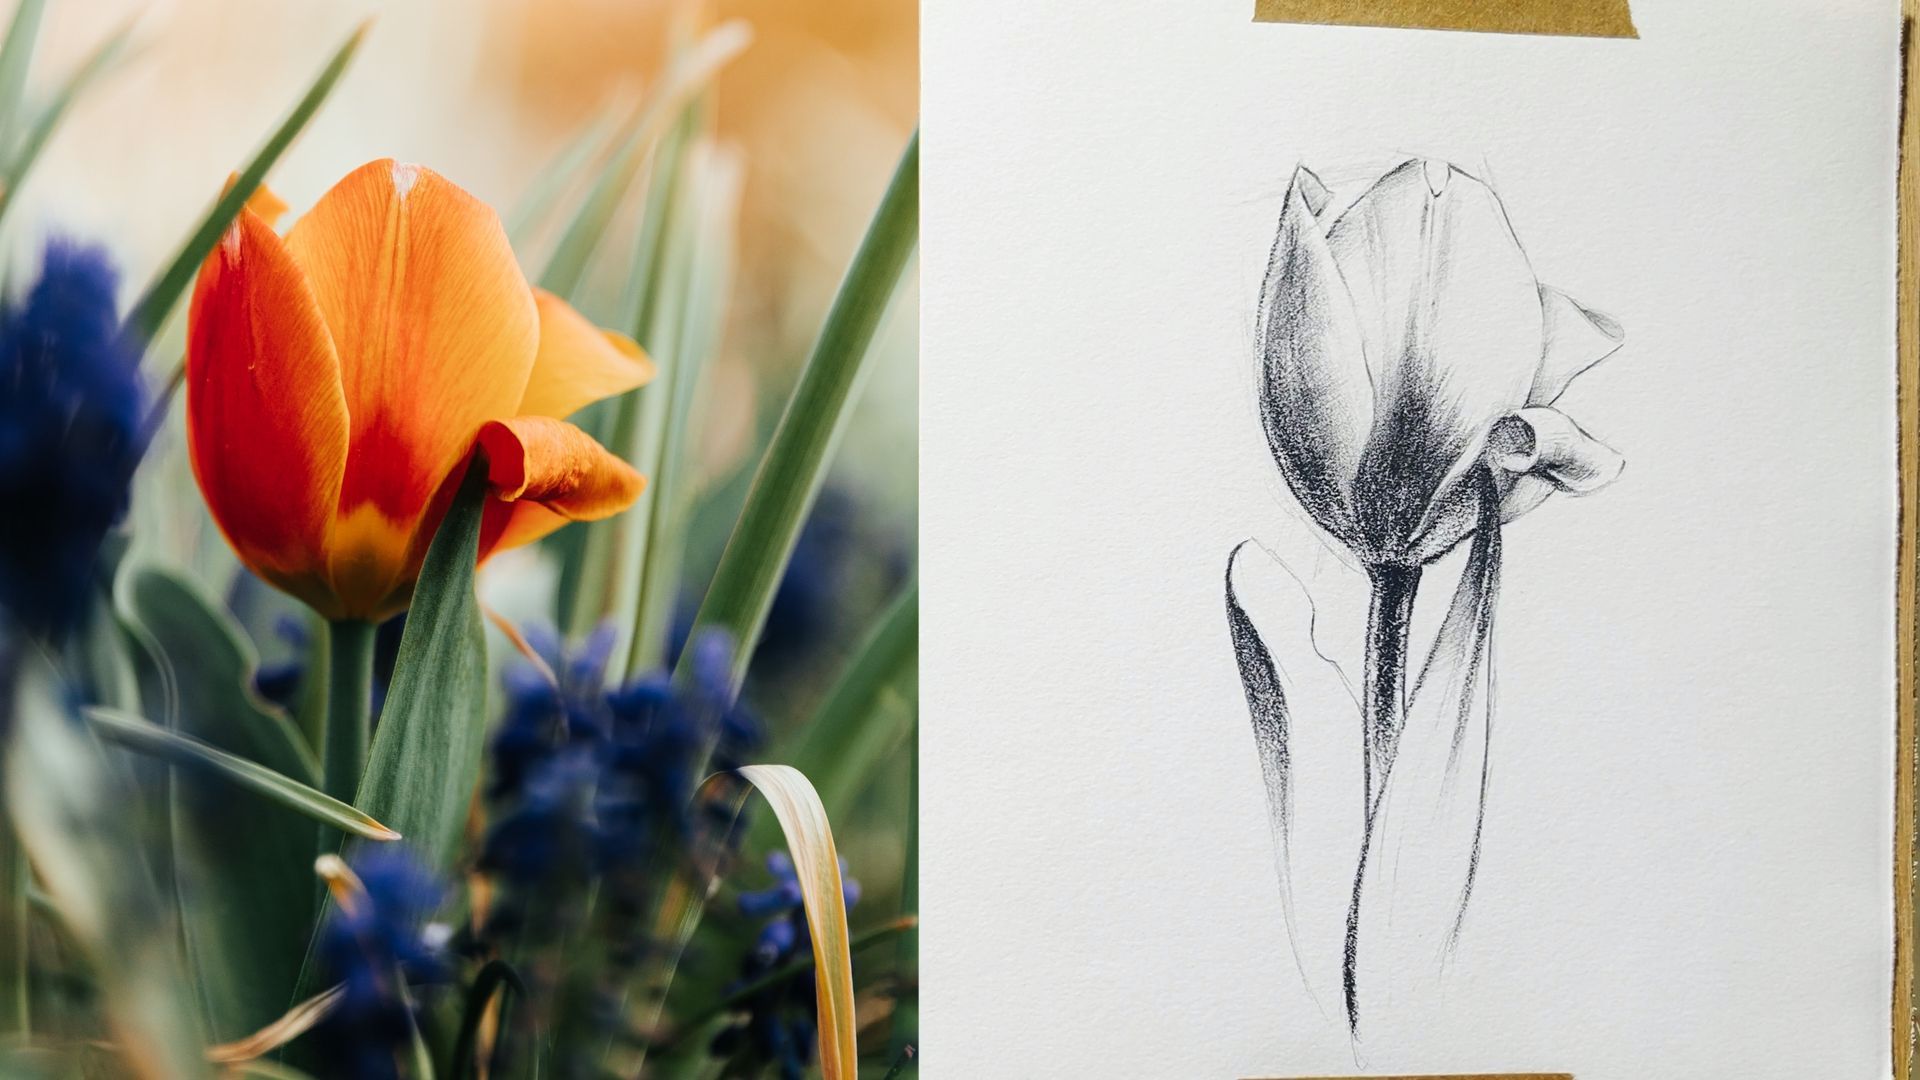
Following on from the first two lessons in this series, I will be showing you how to heighten the wash drawing with white and then add simple midtones to develop a sense of form in the portrait.
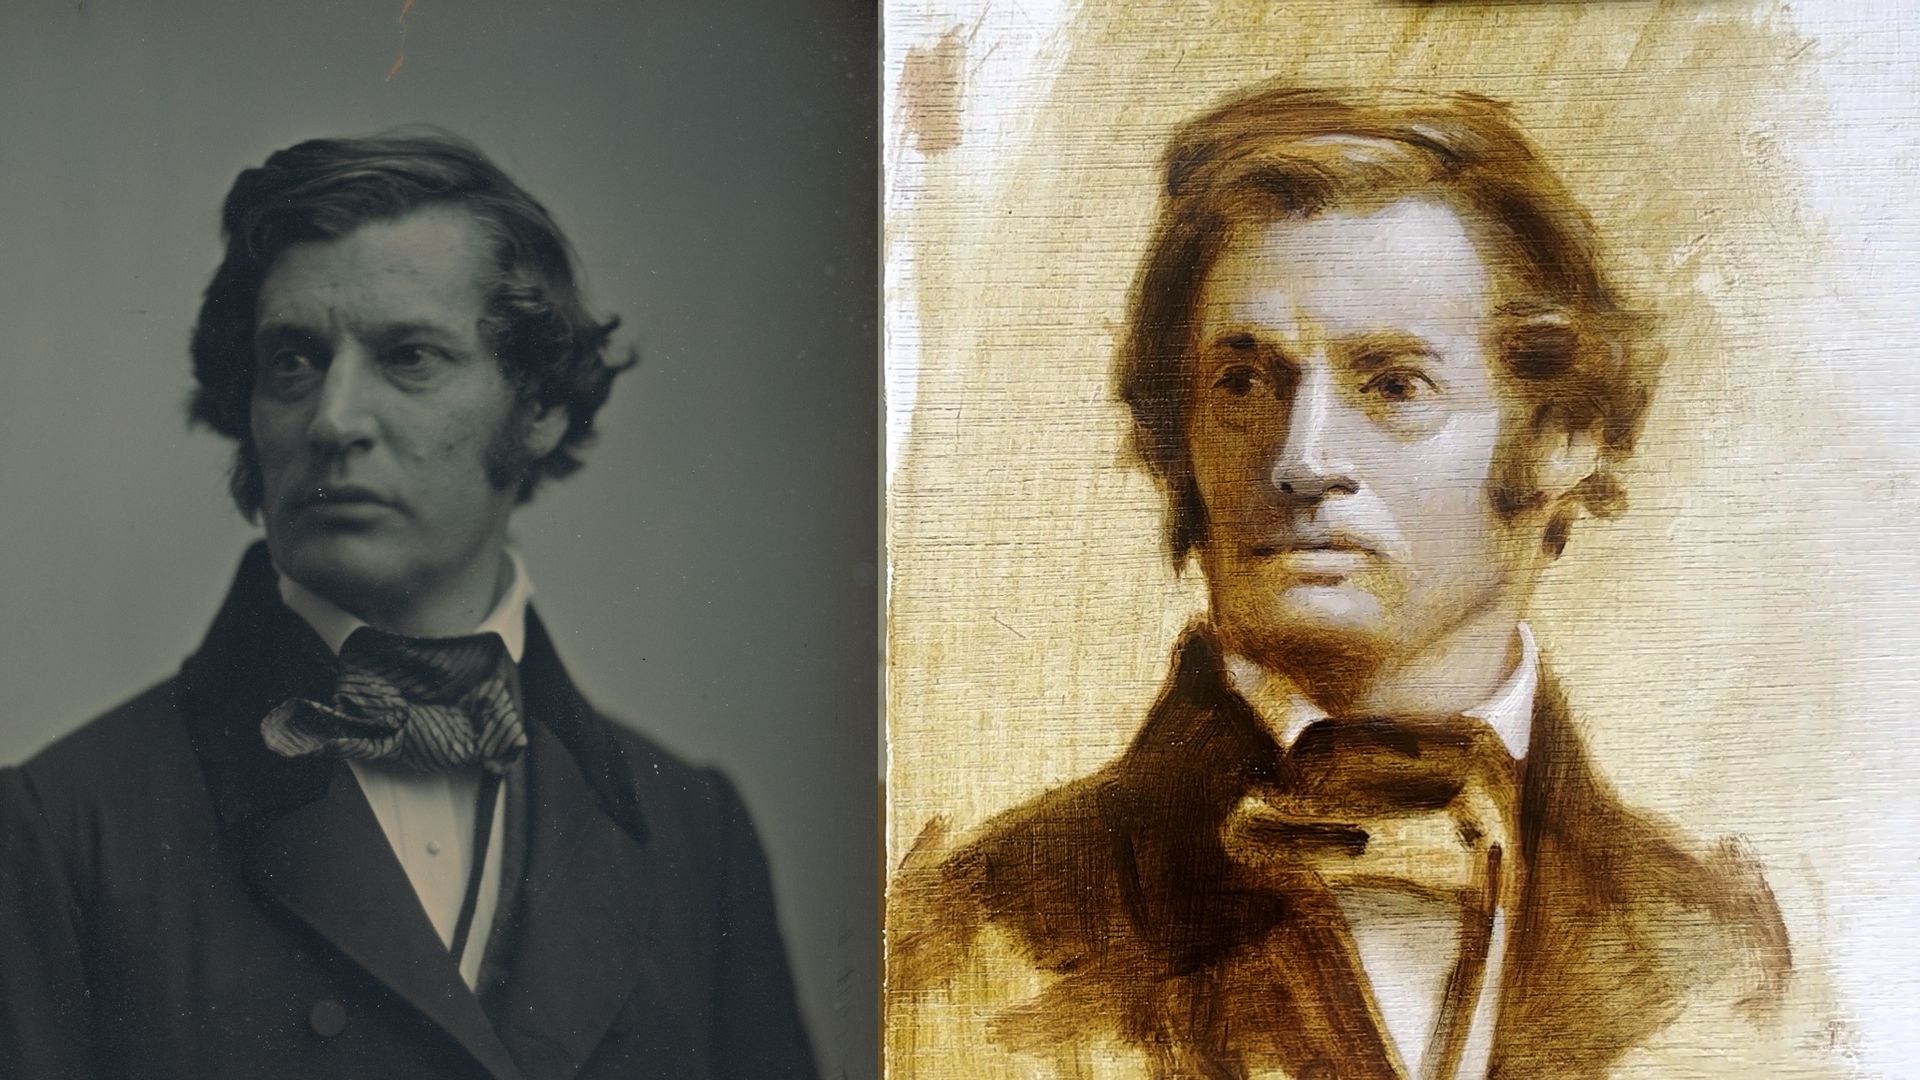
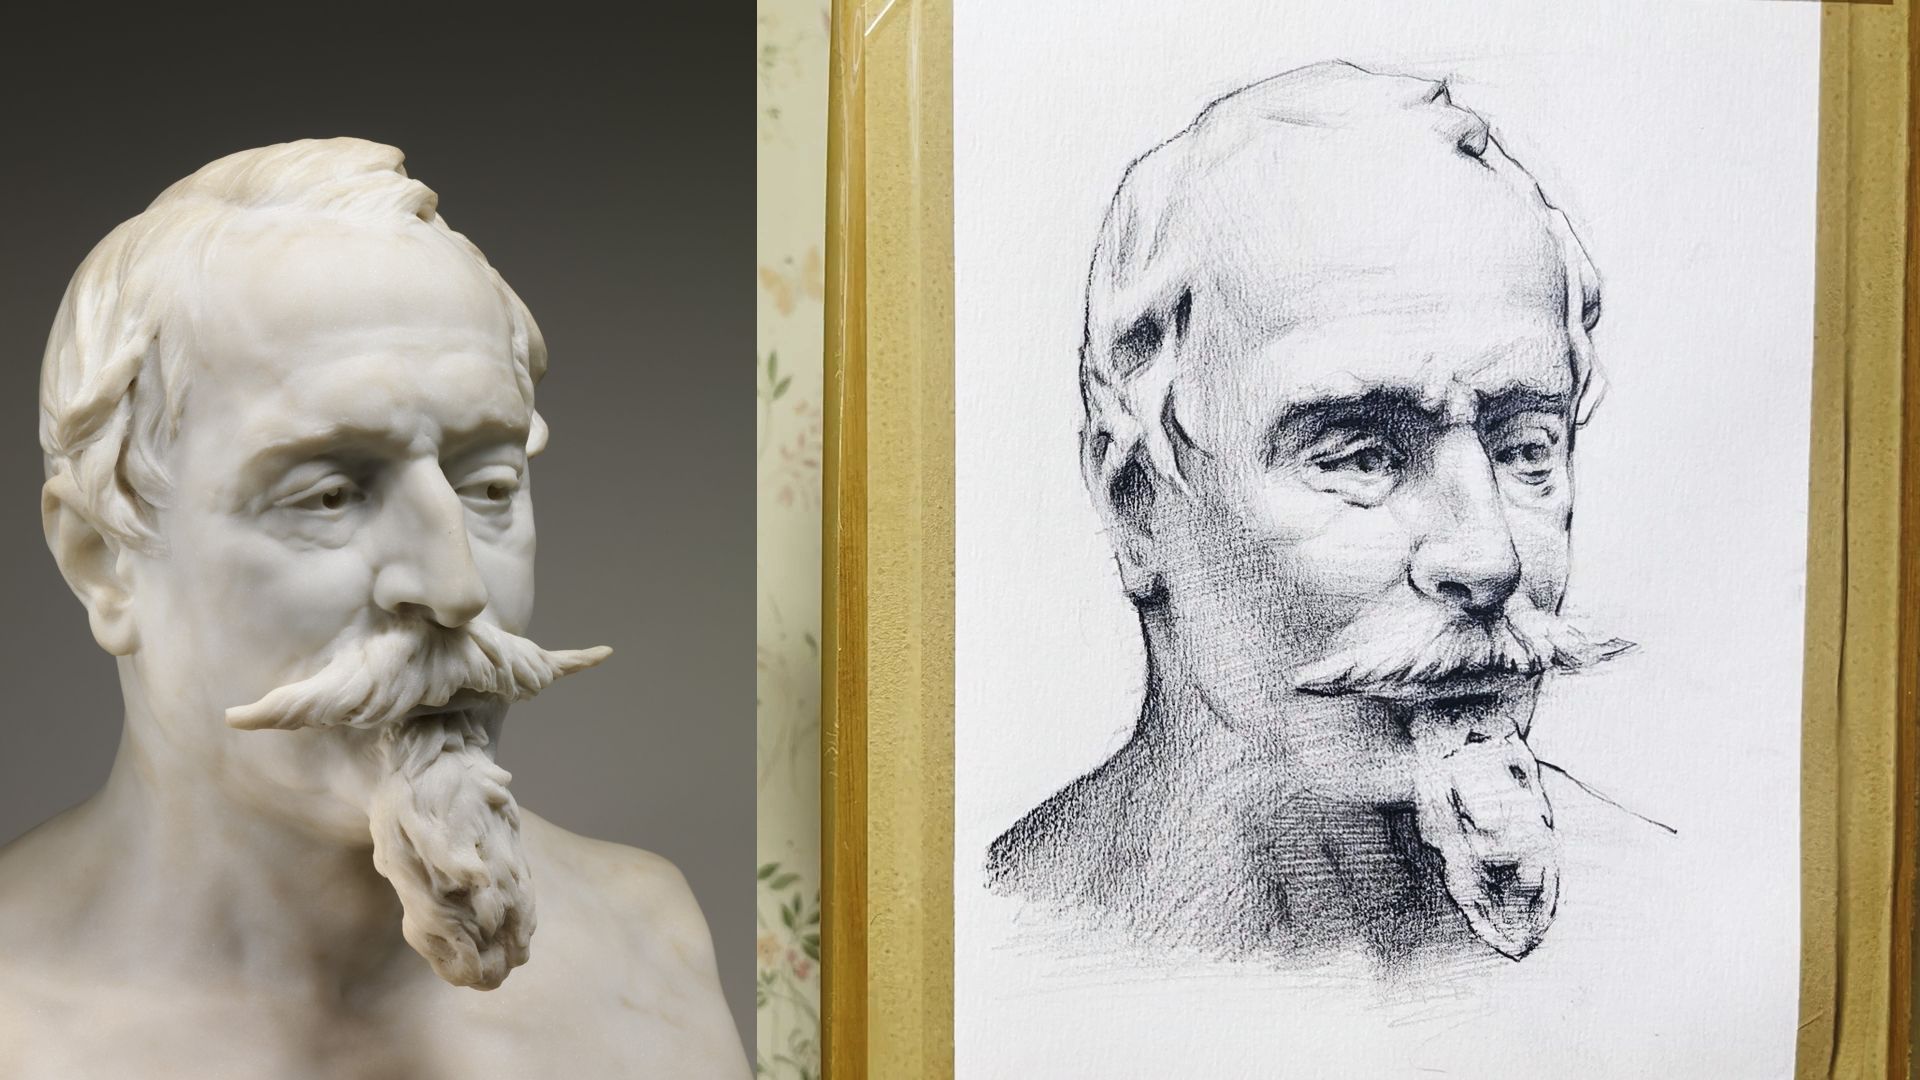
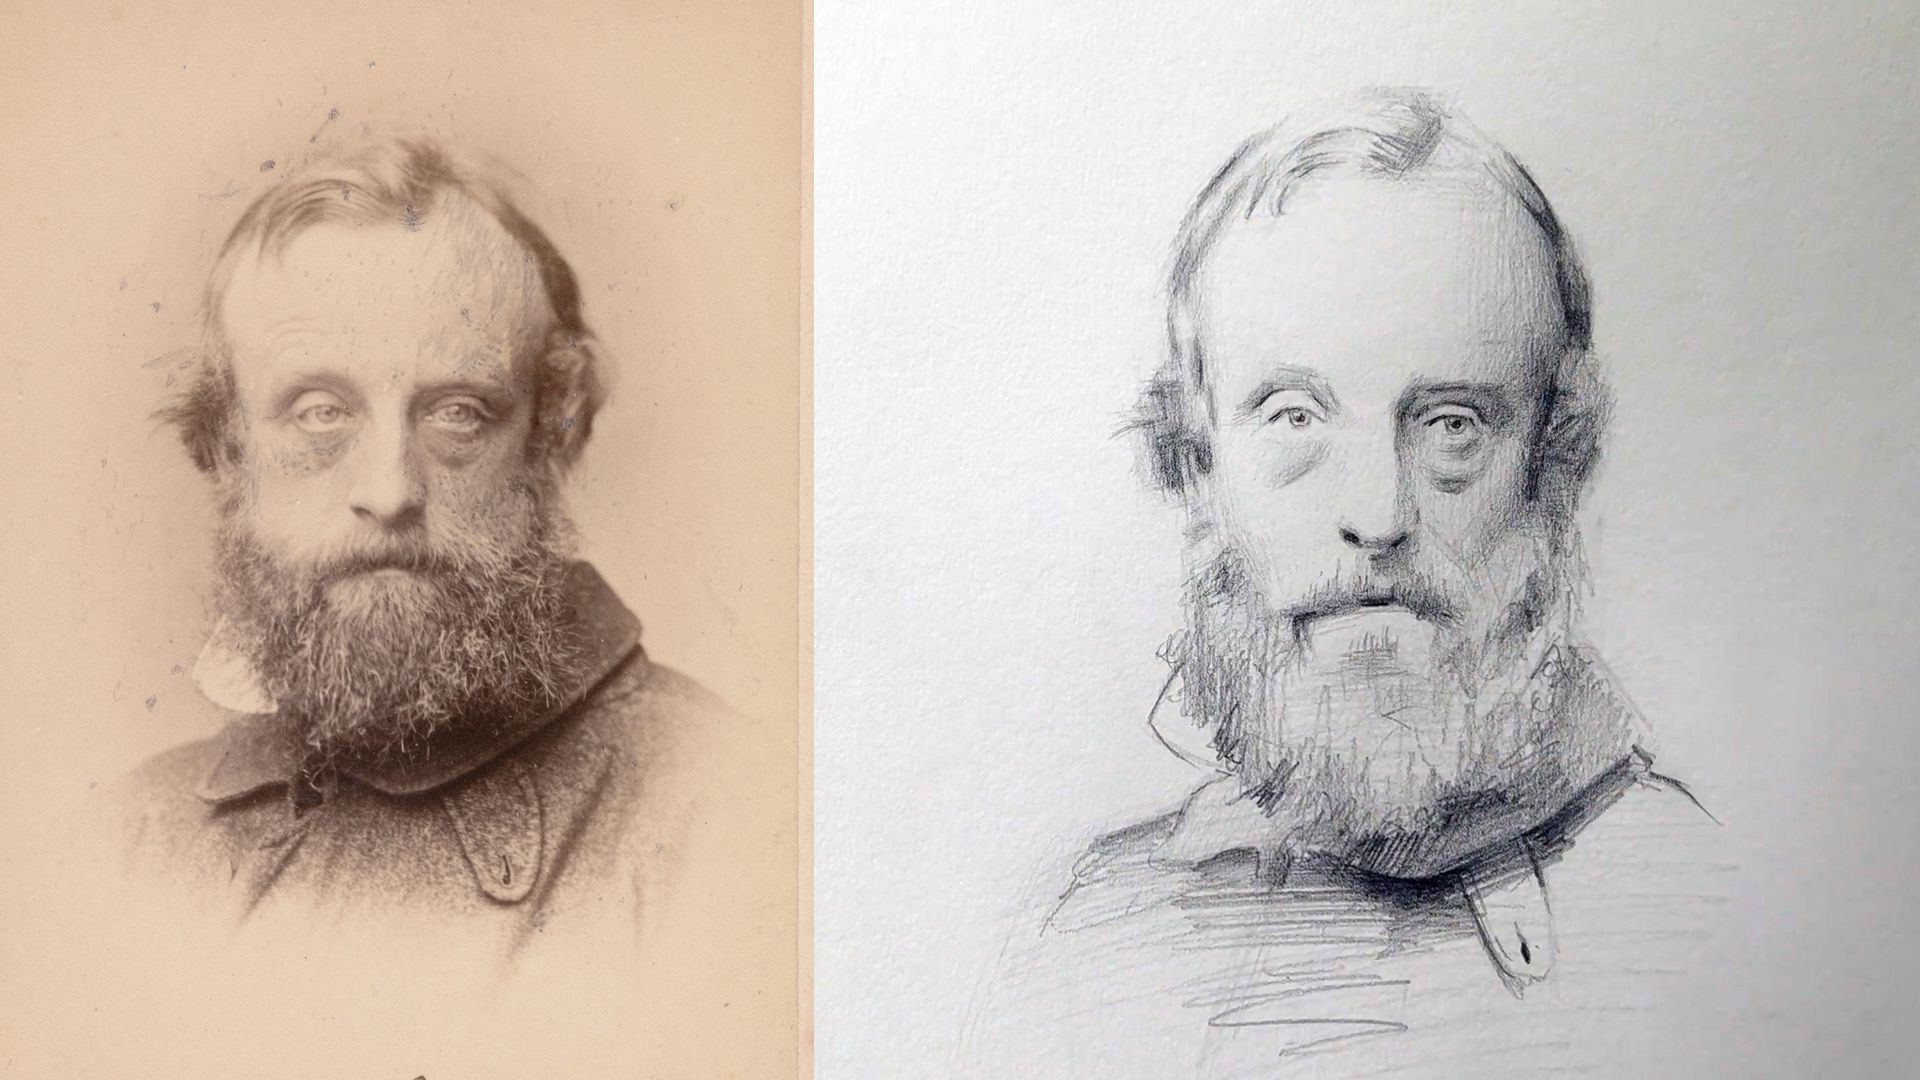
Reference image link (from the Met Museum collection)
Materials
- Canvas, panel or paper for oil painting
- Palette
- Two medium brushes (one stiff, one soft)
- Mineral spirits for diluting
- Burnt Umber, Raw Umber and Ivory Black oil paint
- Paper towel or a rag
Heightening with White
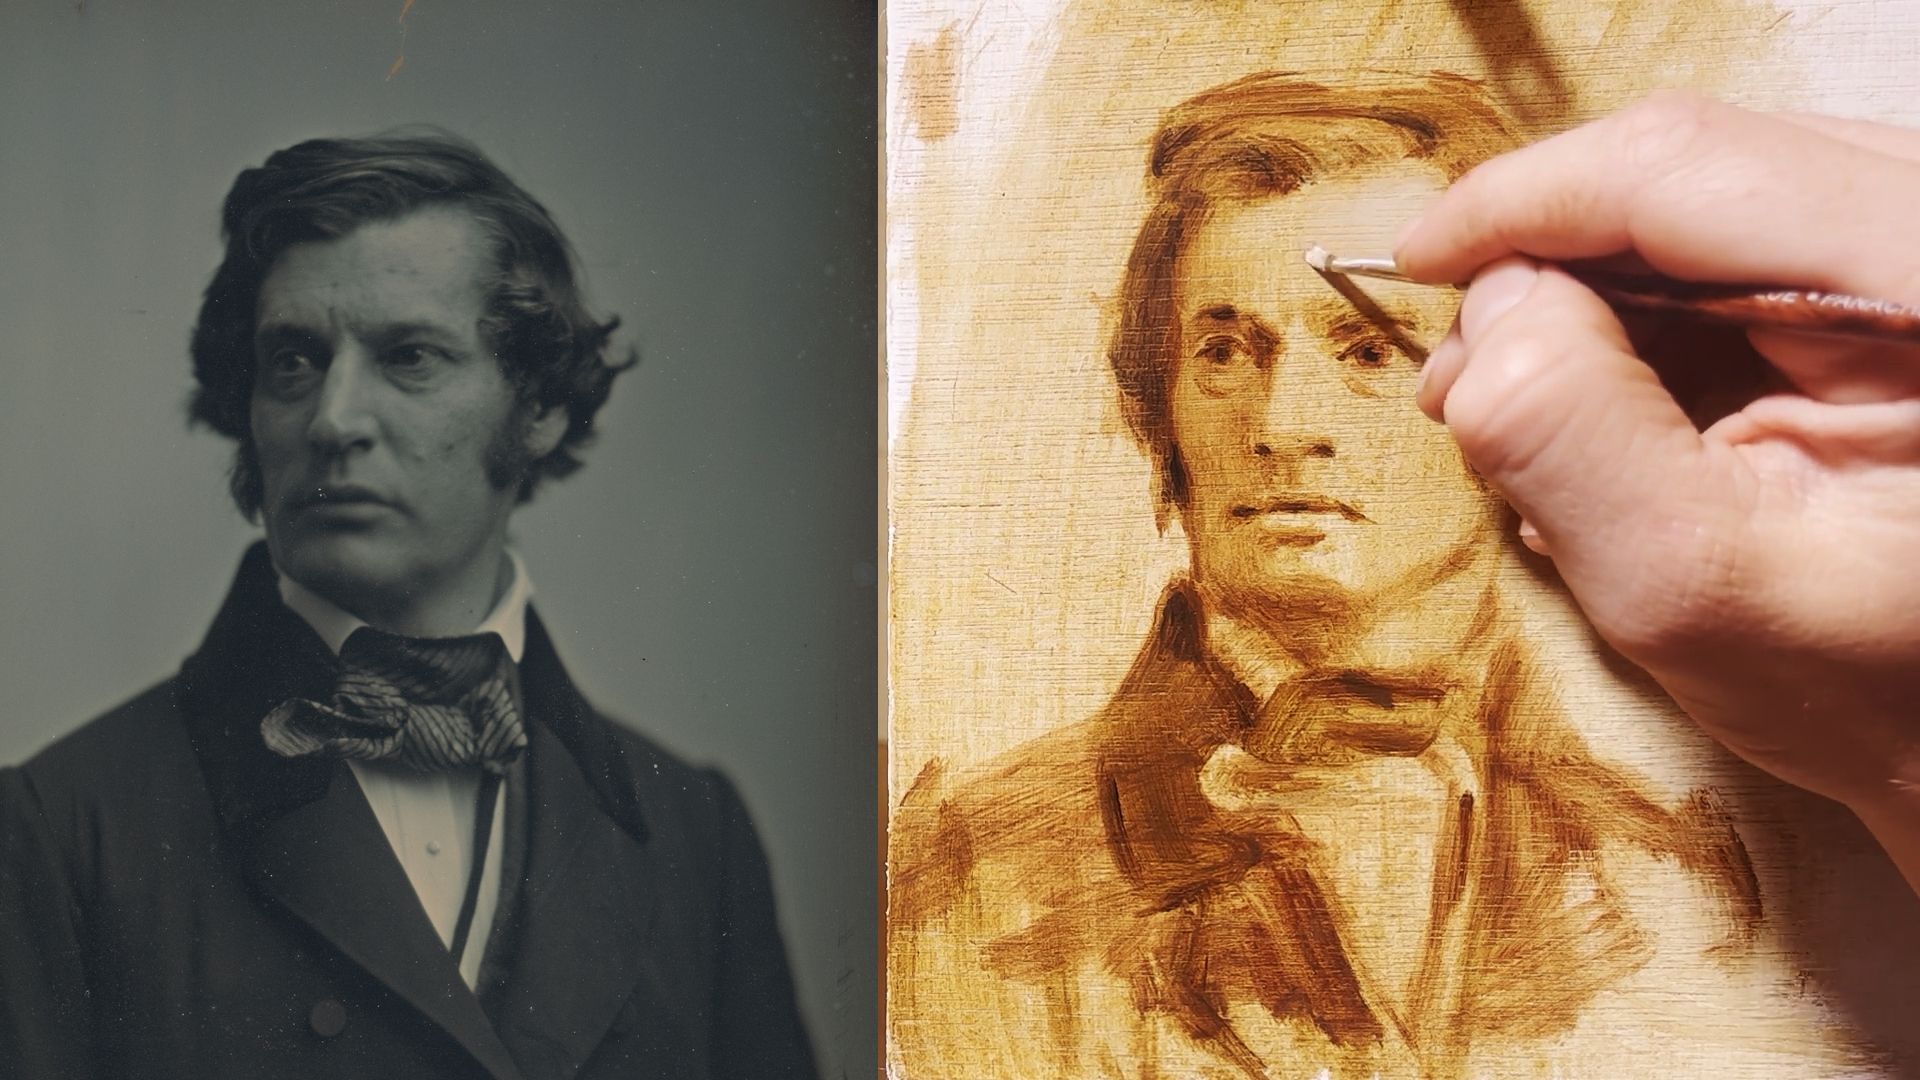
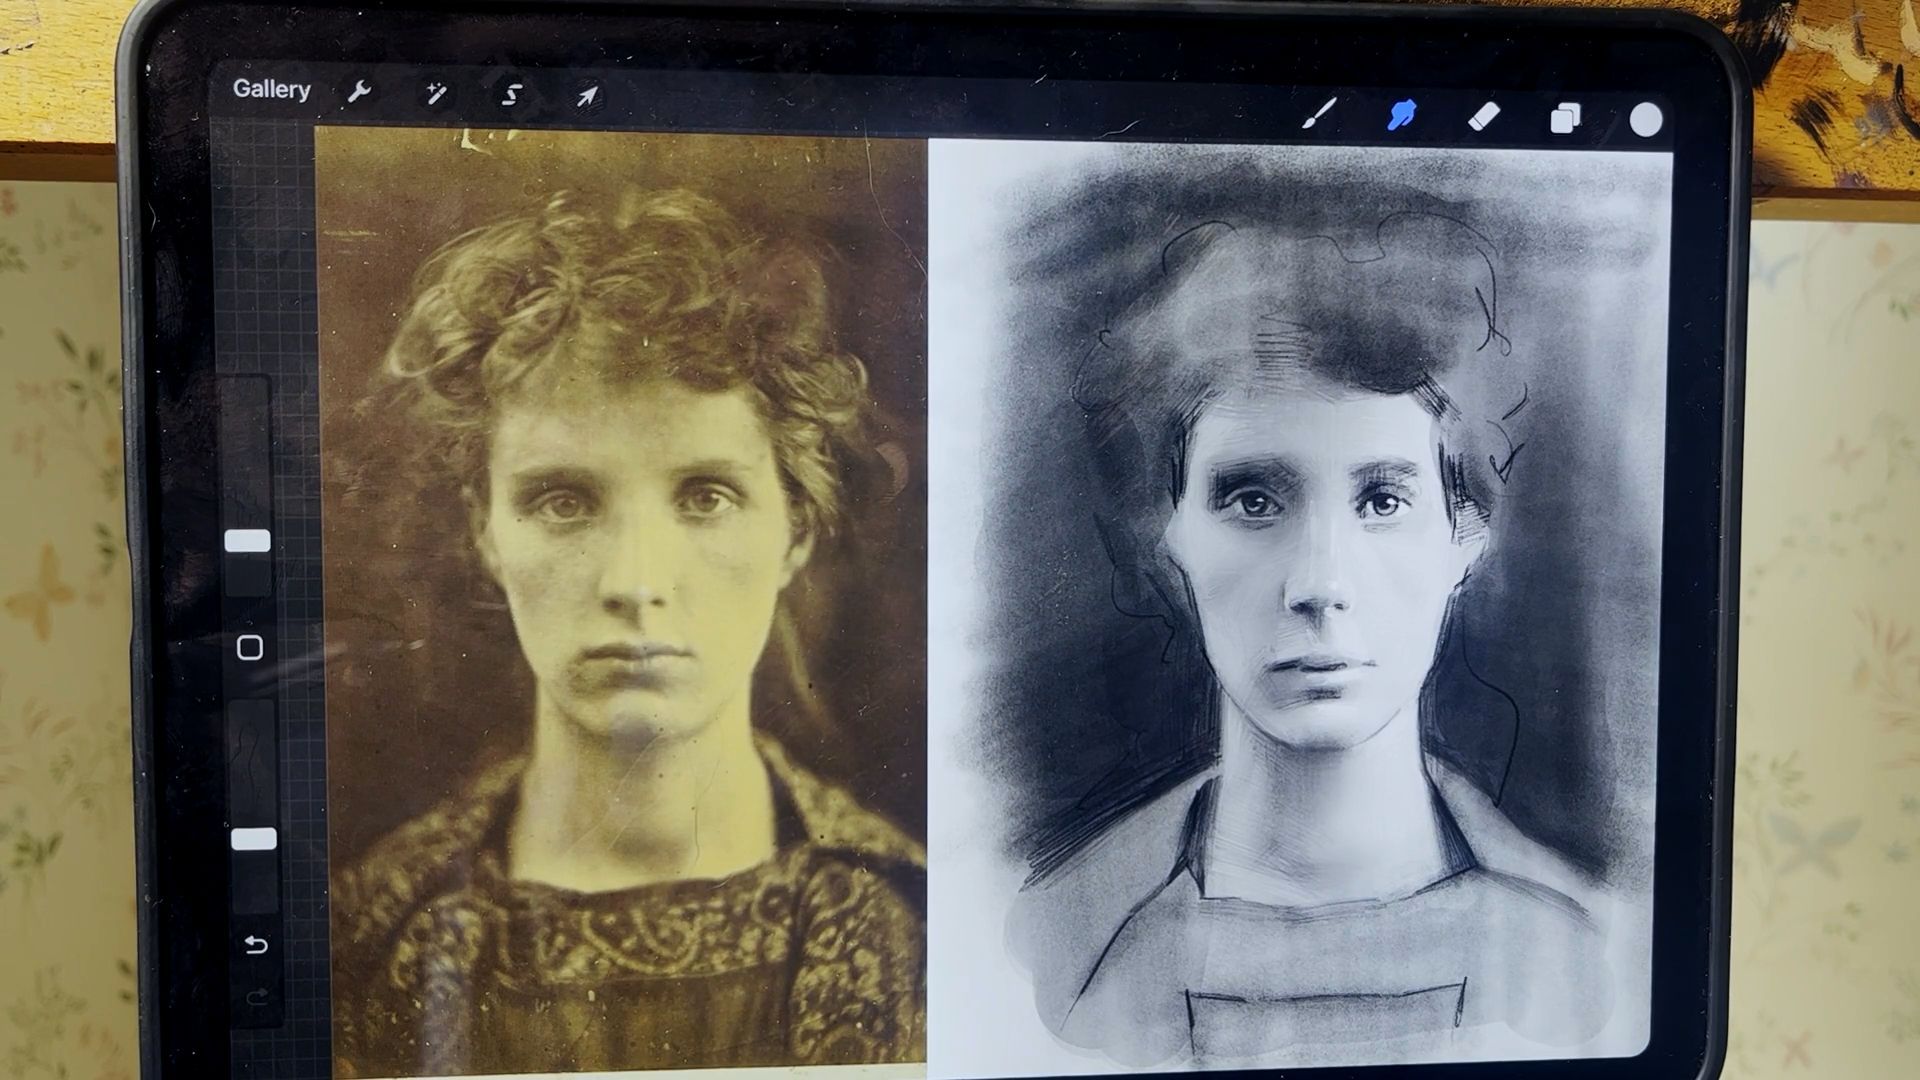
Step 1: Observe the basic forms
Study your reference image or the subject you're painting. Identify the basic forms such as the shape of the head, facial features, and contours. Analyze the light and shadow areas to determine where highlights and mid-tones fall. This observation will guide your application of white paint to develop the basic forms.
Step 2: Apply white paint for highlights and mid-tones
With a brush loaded with white paint, start applying broad strokes to establish the highlights and mid-tones of the portrait. Work quickly and confidently, focusing on capturing the overall shape and structure of the subject. Blend the white paint into the wet ground color, taking advantage of the wet surface to create soft transitions and subtle variations in value.

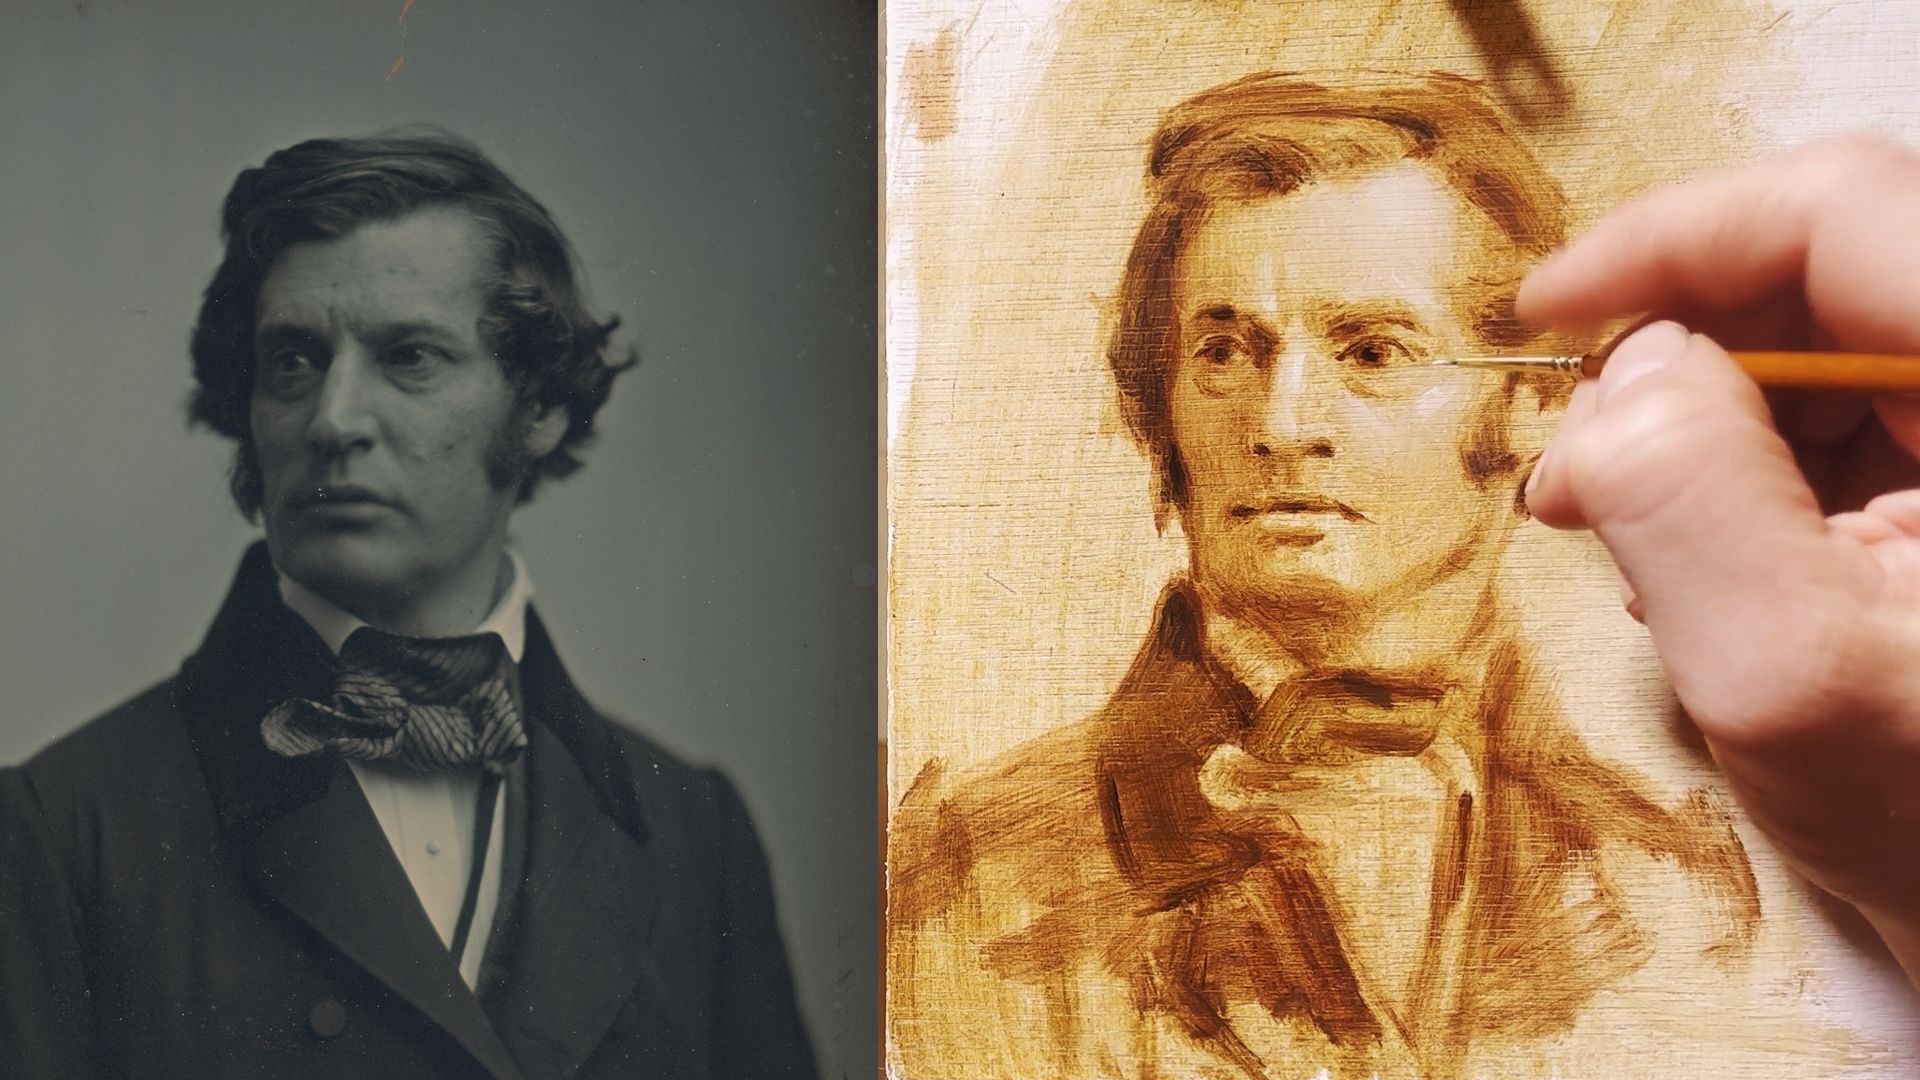
Step 3: Refine the forms and transitions
As you continue painting, use smaller brushes to refine the forms and transitions. Add more layers of white paint to build up the highlights and mid-tones, paying attention to the subtle nuances of light and shadow. Work with a combination of thicker and thinner paint, using brushstrokes to indicate the
Step 4: Evaluate and make adjustments
Step back from your painting regularly to evaluate your progress. Assess the proportions, values, and overall likeness of the portrait. Make any necessary adjustments to refine the forms and capture the desired likeness. This may involve adding more white paint, adjusting values, or refining the transitions between light and shadow.
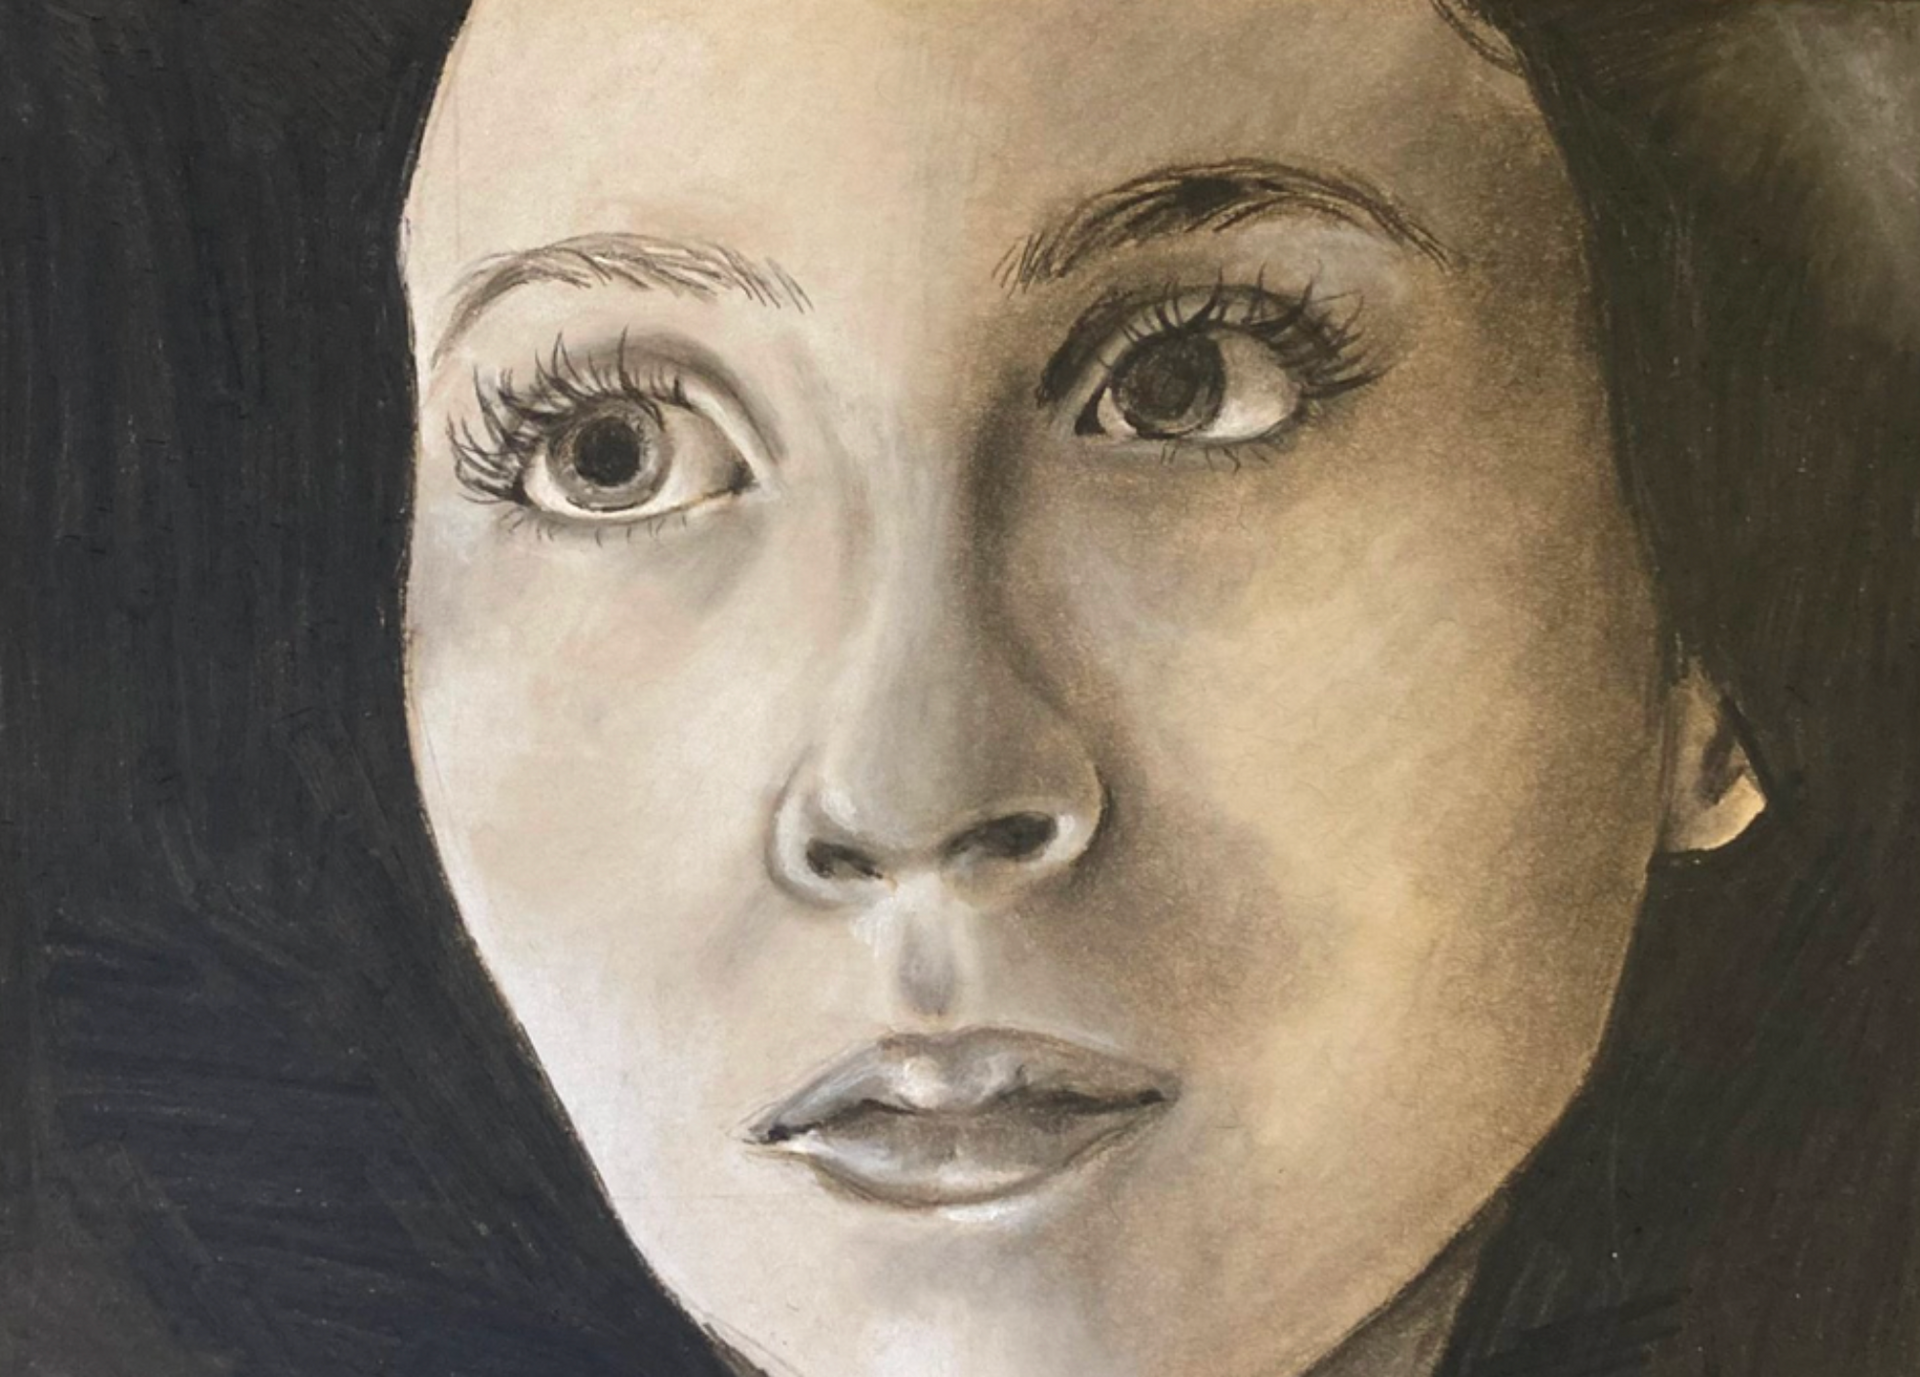
Adding Midtones
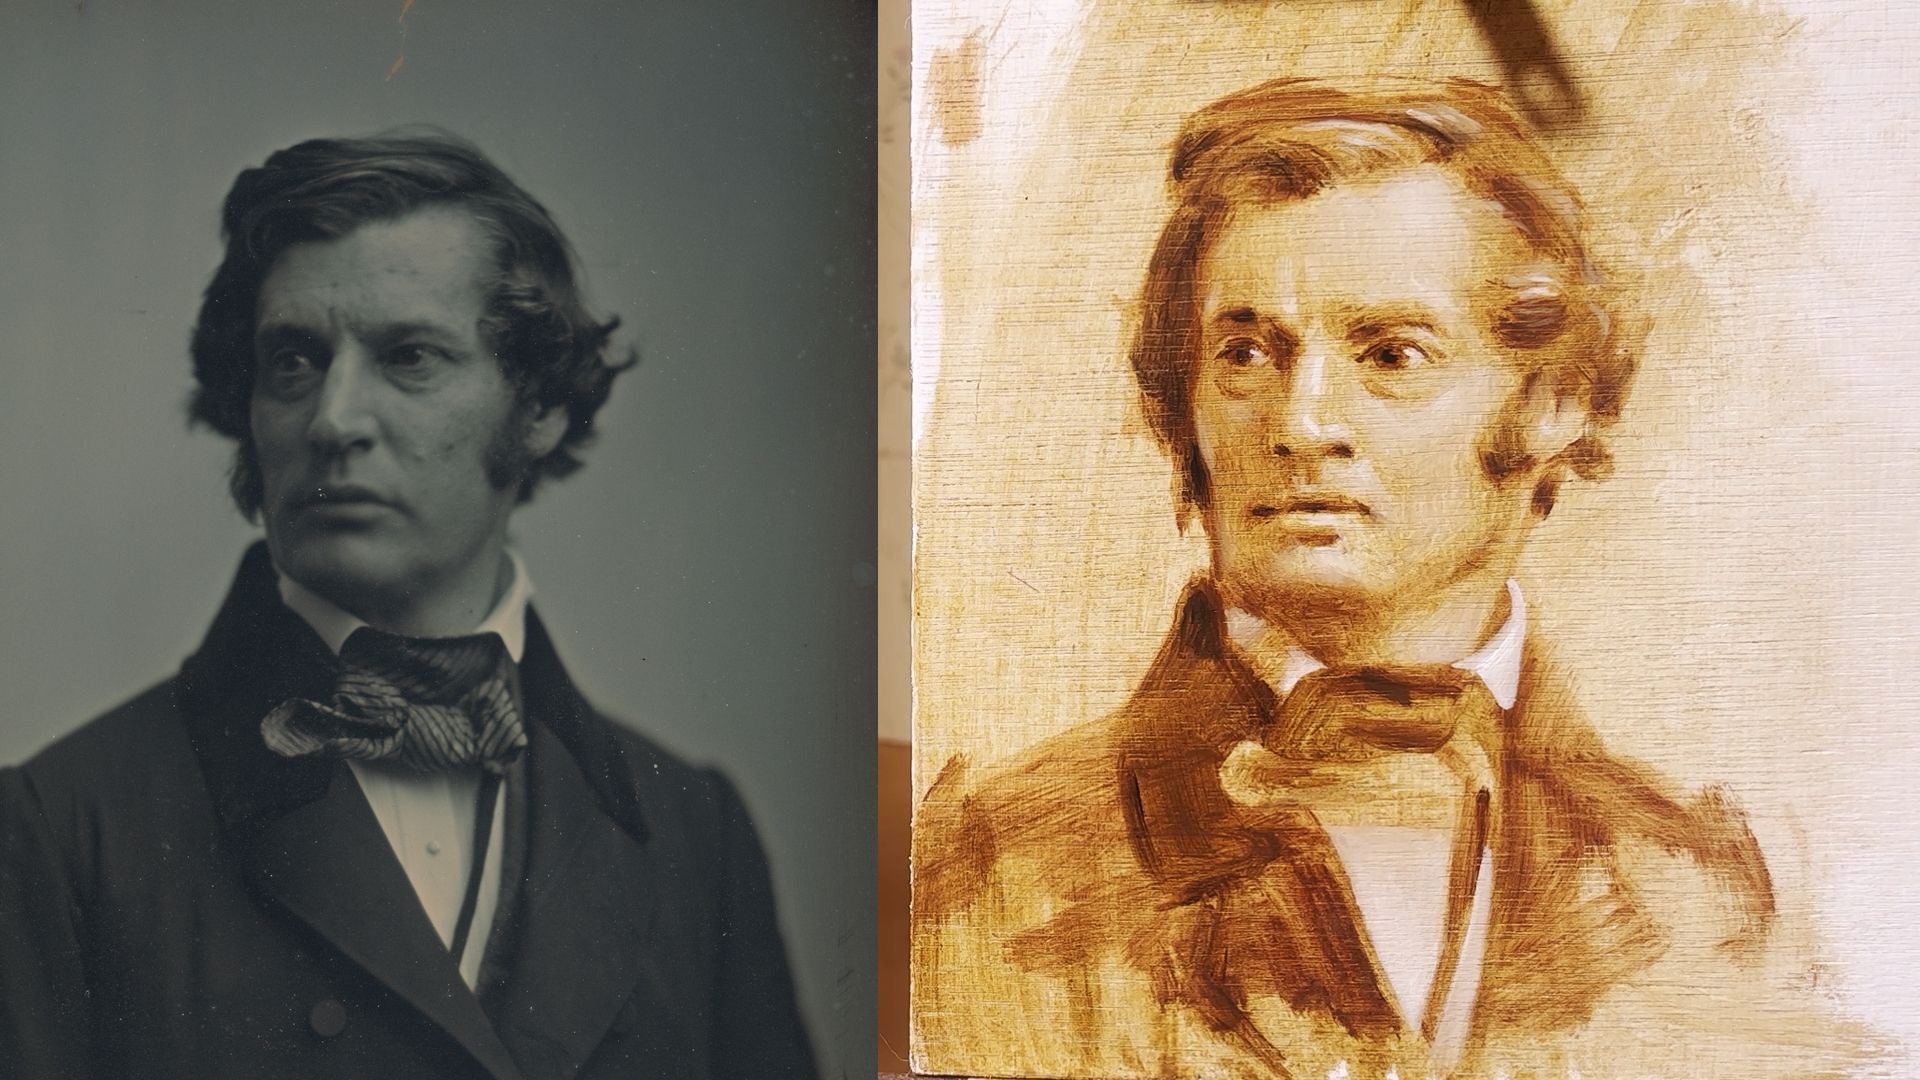
Step 1: Wash the darker tones
Push the darker sections a bit darker (and unify them) by washing over with a blend of black, raw umber and burnt umber. You can lay these glazes a bit over the shadow regions to create a softer feel to the edges.

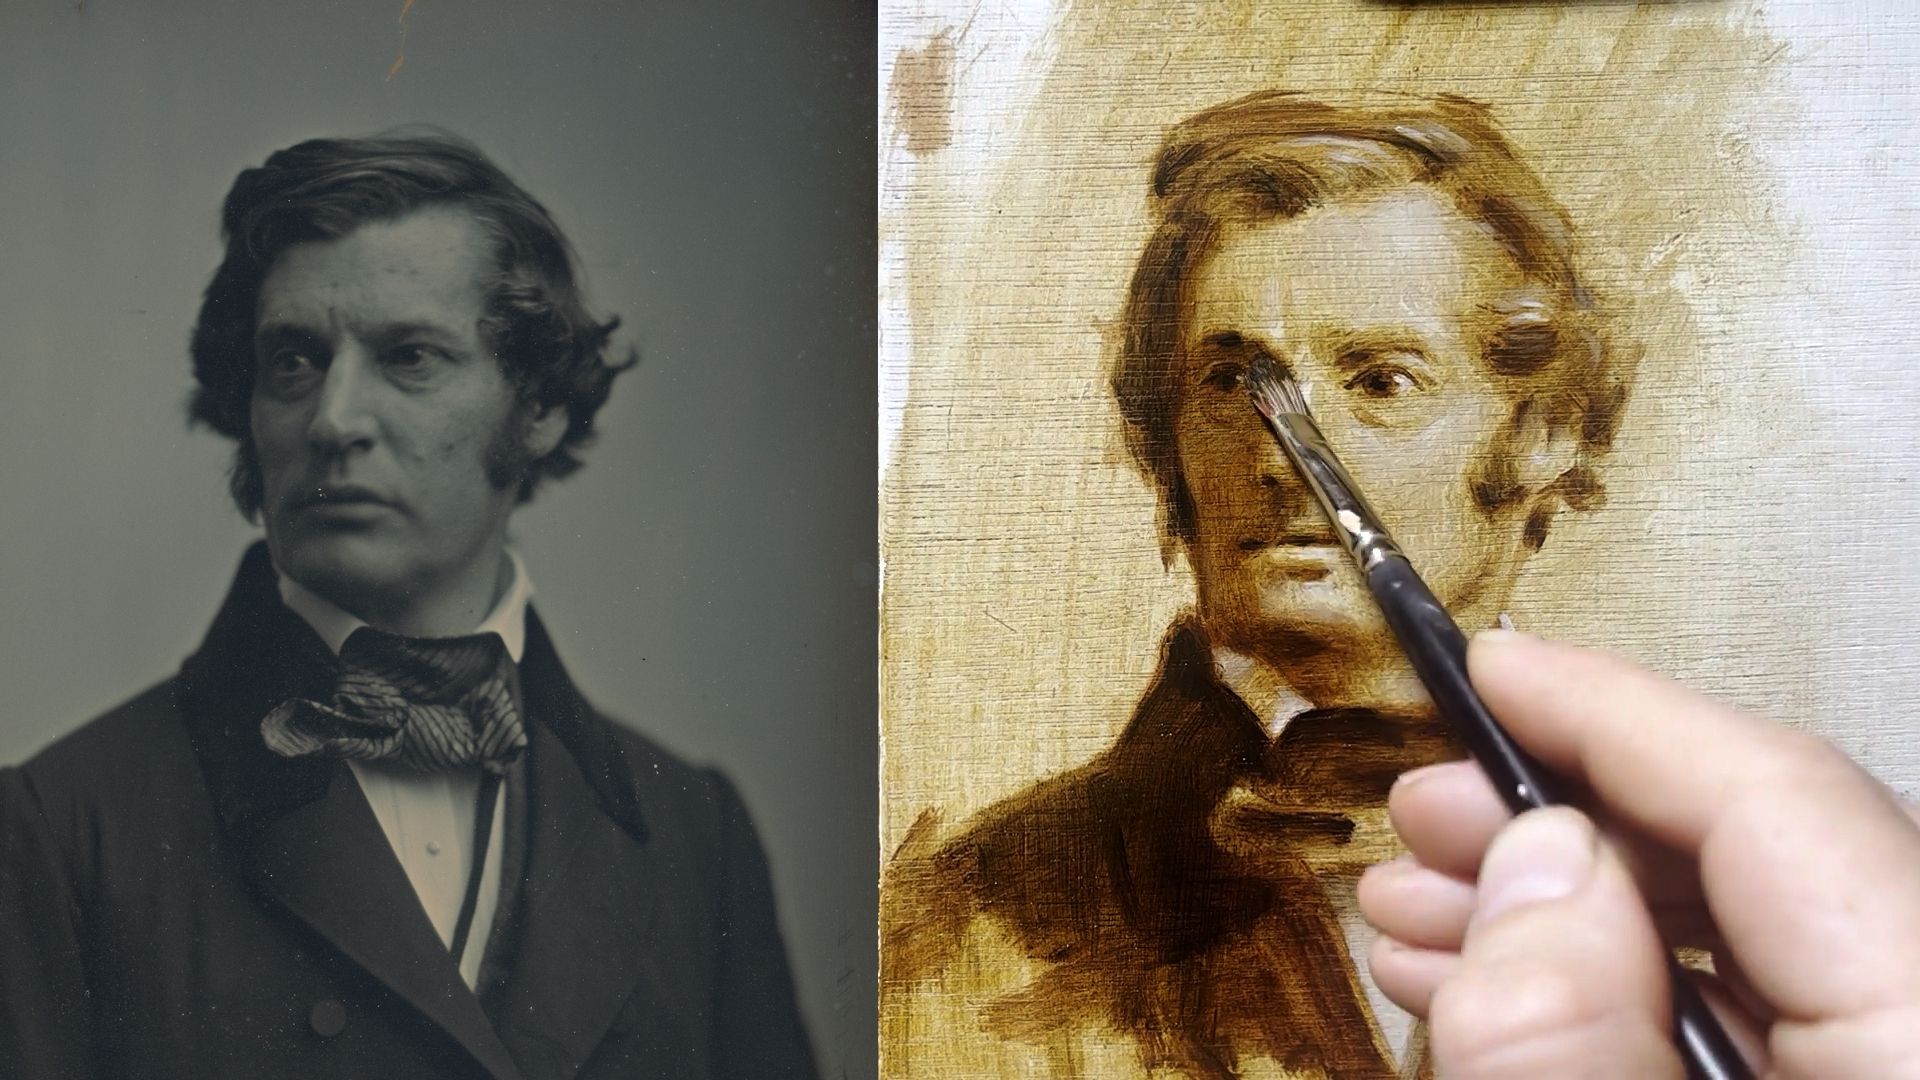
Step 2: Lay in an average light tone fairly thickly
Using a medium brush, lay in the mid tone regions with a bit more impasto (thicker). These will be altered as we progress in this session.
Step 3: Blend the lighter mid tones into the darker ones
Now that you have dark, washed in regions and lighter thicker areas, you can mix some darker mid tones to soften the transitions between the lights and the shadows.

Step 4: Make corrections
You can then nudge shapes and tones around until you’re happy with the approximate relationships between shapes and forms. This will be developed more in later sessions with the painting so don’t worry if it isn’t perfect or if some parts feel too cool or too warm.
For more detailed guidance, you can watch these complete lessons on our YouTube!
Heightening with White:
Adding Midtones:


OCAD is part of the Cambridge Online Education Group - Company number 06594953
Registered UK Learning Provider 10033485